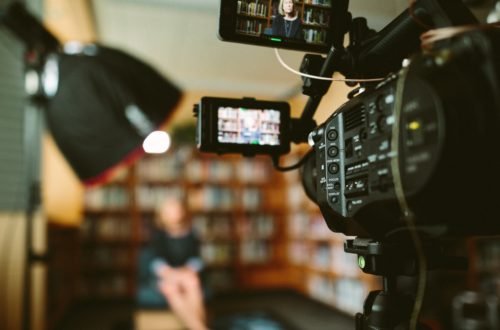
The concept that we follow and works for Rose and me in our business, Tana Ava Taylor Adoption – is following several steps when it comes to editing photos to give the results that exceed not only our expectations but also our clients. Editing photos take on a process similar to cooking. You start with your untouched ingredients and then follow the necessary steps to blend everything together. When it comes to an amazing photography workflow, the result is a perfectly blended and edited image.
Editing Process
Lightroom is one of the best applications to edit your photos. It is by far the most one of the most powerful editing tools used in photography and film. Lightroom allows you to adjustment features such as the white balance, exposure+/-, contrast, brightness, and saturation hue of the photo. Those are considered the basics when it comes to editing.
When we begin editing, we go for the following:
White Balance which is the process of making your image appear warmer, so increasing the temperature of your photo can give it a different atmosphere on print.
Tone is the setting used to under and overexpose your photos. Here, I usually err on the lower end of the tone spectrum to not overdo it.
Highlights, Shadows, Whites, Blacks are exactly how they sound. When you want to emphasize these features, you can come to this section. Because of the different varieties of photography that we do, I adjust these as I see fit. This is where having an eye for color and picture come in. For instance, if a photo was taken with sunlight hanging over or in low-light, I’ll decrease the highlight within the photo to emphasize the sky or the clouds.
The great thing about using Lightroom to edit is that you can take images that are alike and group them together to batch edit them. The most that will have to be done individually will be minor adjustments such as a splash of color, or temperature change of the image.
Retouching Process
Retouching is also an important part of editing because depending on your expertise, there are a few traditional rules you can follow.
For instance, with our wedding photography, we will proceed to retouch images that have been selected by the client to place in their wedding album. Most times in wedding photography, the number of images can range into the thousands and many are capturing the moment. This would be when retouching all, it’s necessary.
We do portraits of adoptive families to welcome home portraits and these are the images where every single one gets retouched. I will reduce the baggy or puffy eyes, correct teeth by whitening them, remove unwanted blemishes, and remove elements within that pose as a distraction from the focal point. This is a process where Photoshop is used. This is because Photoshop is easier and faster than Lightroom. The main retouching tools in Photoshop have descriptions and are easy to use.
In conclusion
Understanding the basics of editing like a professional does come with a learning curve, but hopefully, the tips and the explanation of what we do in our business will help. Because of the work that we do, it’s very important to not overdo it and keep a realistic photo because we work with real people. We share the stories of blended families because we understand, especially for me, Tana Ava Taylor. So, depending on what or who you are working with, the process can be applied. Visit Tana Ava Taylor Adoption to learn more.